> For the complete documentation index, see [llms.txt](https://happytalk.gitbook.io/happybot/llms.txt). Markdown versions of documentation pages are available by appending `.md` to page URLs; this page is available as [Markdown](https://happytalk.gitbook.io/happybot/concept/basic_screen/setting.md).
# 봇 설정 화면
경로 : 사이트 로그인 > 봇 리스트에서 봇 클릭 > 왼쪽 메인 메뉴 > 봇 설정
***
## 1. 기본 설정
{% hint style="success" %}
봇의 이름과 설명을 수정할 수 있습니다.
봇 이름과 설명은 각각 최대 32자 이하로만 입력하실 수 있으며,\
수정 즉시 반영됩니다.
{% endhint %}
봇 기본 설정 항목
### **① 봇 이름 설정**
> 봇 최초 생성 시에는 시스템에서 임의로 부여된 {bot\_{num}}형태로 노출되나,\
> 해당 설정에서 원하는 이름으로 32자 이하에서 수정할 수 있습니다.
### **② 봇 설명 설정**
> 봇 설명을 설정할 수 있으며, 32자 이하에서 수정할 수 있습니다.
***
## 2. 봇 상담 시간 설정
{% hint style="success" %}
봇 응대/미응대 시간과 상담사 연결 버튼 노출 시간을 설정할 수 있습니다.
수정 즉시 반영됩니다.
{% endhint %}
### **① 봇 기본 응대 시간**
> 봇 기본 응대 시간에는 사용자 인입 시 챗봇이 먼저 응대합니다.
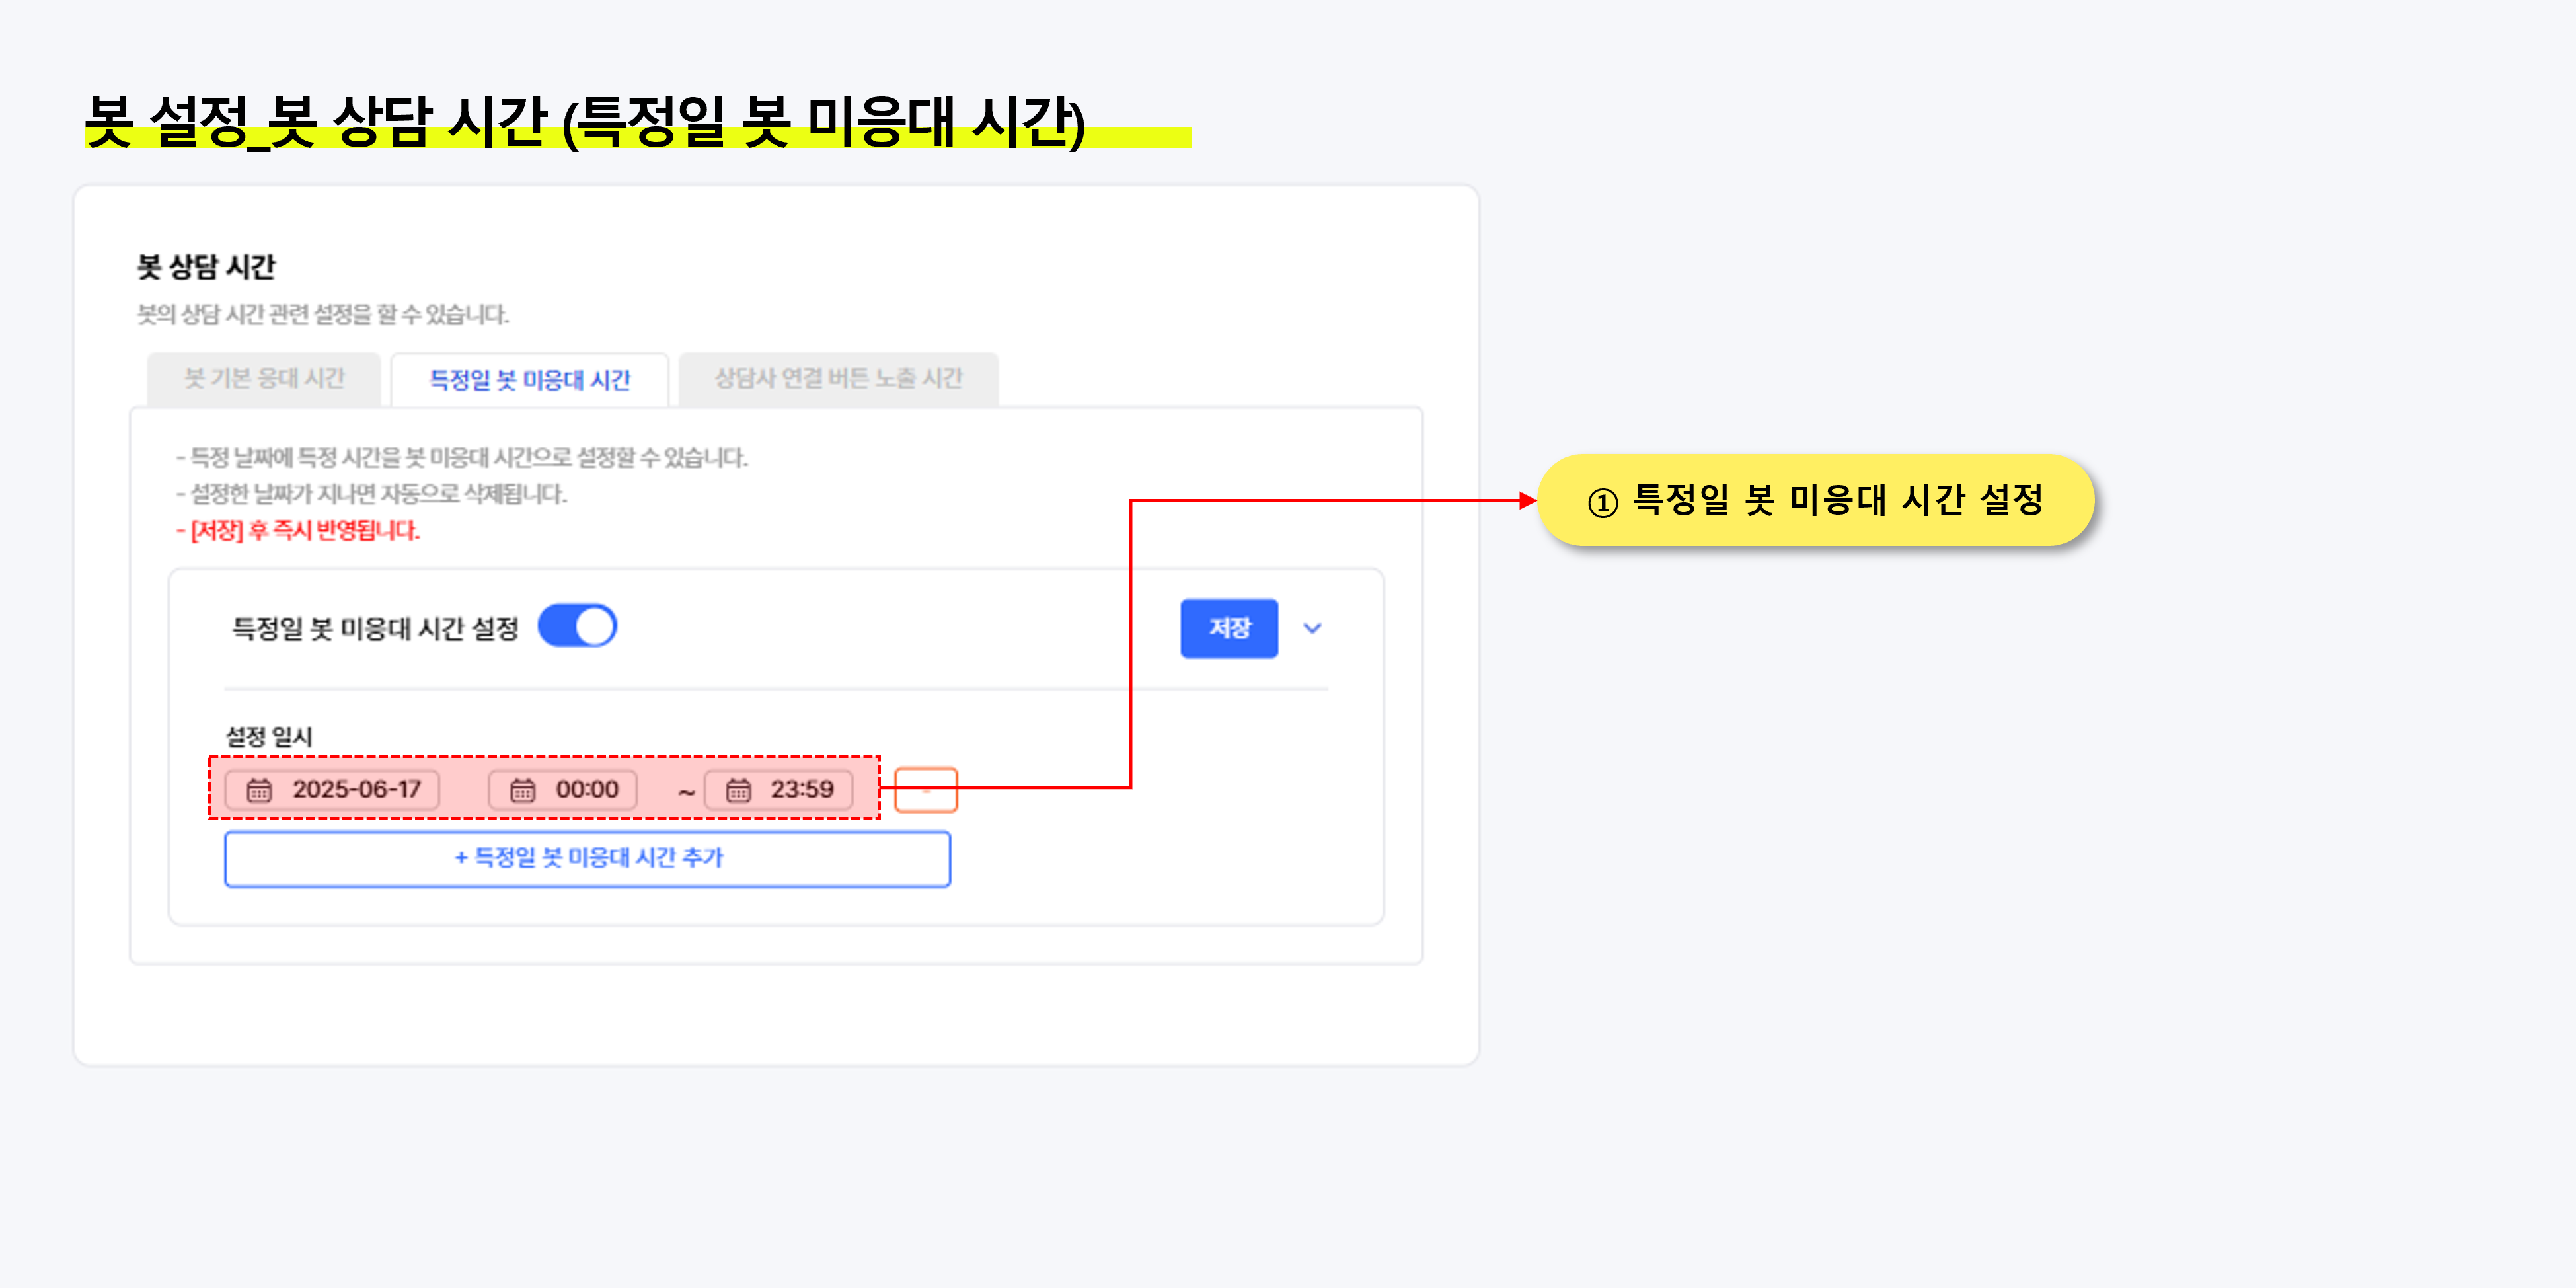
### **② 특정일 봇 미응대 시간**
> 특정 시간에 봇 응답 대신 상담사 연결로 바로 진행되도록 설정할 수 있습니다.
### ③ 상담사 연결 버튼 노출 시간
> 특정 시간에 상담사 연결 버튼이 노출되거나, 노출되지 않도록 설정할 수 있습니다.
***
## 3. 메신저 연동
{% hint style="success" %}
**봇과 연결할 메신저 채널을 설정할 수 있습니다.**\
\
카카오 i / 네이버 톡톡 / 인스타그램 연동이 제공되며,\
각각의 연동 방법은 아래 링크에서 확인하실 수 있습니다.
\
👉 바로가기(전체 모음) : [외부 메신저(채널) 연동](/happybot/setting/channel.md)\
👉 바로가기 : [카카오톡 연동](/happybot/setting/channel/kakao.md)
{% endhint %}
***
## 4. 인증 설정
{% hint style="success" %}
**인증 블럭의 고객 인증 방법 설정입니다.**
인증 데이터 초기화부터 카카오 싱크 세팅 방법은인증 세팅 방법은 \
아래 페이지에서 확인하실 수 있습니다.
👉 바로가기 : [인증 설정](/happybot/setting/certification.md)
{% endhint %}
***
## 5. 세션 시간 설정
{% hint style="success" %}
마지막 메시지 이후 초기화 되는 시간에 대한 설정 입니다.\
초기화 시간을 선택하고, 초기화 메시지를 설정할 수 있습니다.\
\
상세 내용은 아래 페이지에서 확인하실 수 있습니다.
👉 바로가기 : [Broken mention](broken://pages/MG0bYHOnzS3FjPSdgQqP)
{% endhint %}
***
## 6. AI 사용 설정
{% hint style="success" %}
해피봇에서 AI 기능을 사용 설정하는 기능입니다.
상세 내용은 아래 페이지에서 확인하실 수 있습니다.
자연어 이해 질의응답 : [Broken mention](broken://pages/H9054TscTcCIcQTlkLaP)
AI 블럭 : [Broken mention](broken://pages/d2KBO0cUCPFUnUPQj2iG)
{% endhint %}
***
## 7. 이미지 등록 실패 문구 변경
{% hint style="success" %}
고객이 임의로 이미지를 등록했을 때 노출되는 등록 실패메시지 설정입니다.
최대 400자까지 입력할 수 있습니다.
{% endhint %}
***
## 8. 챗봇 트래픽 소진 시 설정
{% hint style="success" %}
사용하고 있는 챗봇 요금 플랜에서 기본 제공되는 챗봇 트래픽을 모두 소진하여,
챗봇 사용이 불가할 때 응답되는 메시지입니다.
\
최대 400자까지 입력할 수 있습니다.
{% endhint %}
***
## 9. 상담사 연결
{% hint style="success" %}
챗봇에서 상담사 연결 시 발송되는 메시지입니다.
글자수제한 없이 입력하고 설정할 수 있습니다.
{% endhint %}